
Are you a fan of Naruto and want to learn how to draw this iconic anime character quickly? With the right techniques, you can create a stunning drawing of Naruto in just 5 minutes. In this guide, we'll break down the steps to sketch Naruto easily and efficiently, perfect for beginners and seasoned artists alike.
How to Draw Anime Naruto
Step 1: Basic Outline
Start with a simple outline of Naruto's head. Draw a circle for the head and add guidelines for the facial features. This will help you place the eyes, nose, and mouth correctly.
Step 2: Eyes and Eyebrows
Naruto's eyes are one of his most distinctive features. Draw large, almond-shaped eyes along the horizontal guideline. Add his characteristic whisker marks on each cheek. Don’t forget to draw the eyebrows above the eyes, giving him his determined look.
Step 3: Nose and Mouth
Draw a small, simple nose halfway down the face and a slight smile or neutral expression for the mouth below. Naruto's expressions can vary, so choose one that fits your drawing.
Step 4: Hair
Naruto's spiky hair is iconic. Start by drawing the headband across his forehead, with the Leaf Village symbol in the center. Then, sketch out the spiky hair, making sure to capture the wild and energetic style.
Step 5: Ears and Neck
Draw Naruto’s ears on each side of the head, and add the neck and part of his collar. The collar should be slightly open, reflecting his ninja outfit.
Step 6: Final Touches
Refine your drawing by adding more details to his hair, headband, and clothing. You can also add shadows and highlights to give your drawing more depth and dimension.
Drawing of Naruto: Tips and Tricks
Use References
Having a reference image of Naruto can be incredibly helpful. Look at different poses and expressions to get a better idea of how to capture his likeness.
Practice Consistency
Consistency is key when drawing anime characters. Practice drawing Naruto multiple times to get familiar with his features and proportions.
Experiment with Styles
Don’t be afraid to experiment with different drawing styles. You might find a unique way to draw Naruto that stands out and showcases your personal touch.
Anime Draw Naruto: Step-by-Step Guide
Step 1: Head and Face
Begin with the head and facial features. Naruto's face is rounded with sharp, expressive eyes. Pay attention to the placement of his eyes and whisker marks.
Step 2: Hair and Headband
His spiky hair and headband are crucial elements. Make sure the spikes are uneven and dynamic. The headband should sit firmly on his forehead.
Step 3: Body and Clothes
Sketch out the upper body and his ninja outfit. Naruto’s clothing is practical and loose-fitting, perfect for a ninja on the move.
Step 4: Adding Details
Details like the Leaf Village symbol on his headband, the folds in his clothes, and the texture of his hair will bring your drawing to life.
Sketch of Naruto: Quick and Easy
For a quick sketch, focus on capturing the essential features:
- Face and Expression: Naruto's determined look is a must.
- Hair: Spiky and dynamic.
- Headband: With the Leaf Village symbol.
Draw a Naruto: Master Techniques
Use Light and Shadow
Adding light and shadow can make your drawing more realistic and dynamic. Focus on where the light source is coming from and add shadows accordingly.
Smooth Lines
Keep your lines smooth and confident. This will give your drawing a polished and professional look.
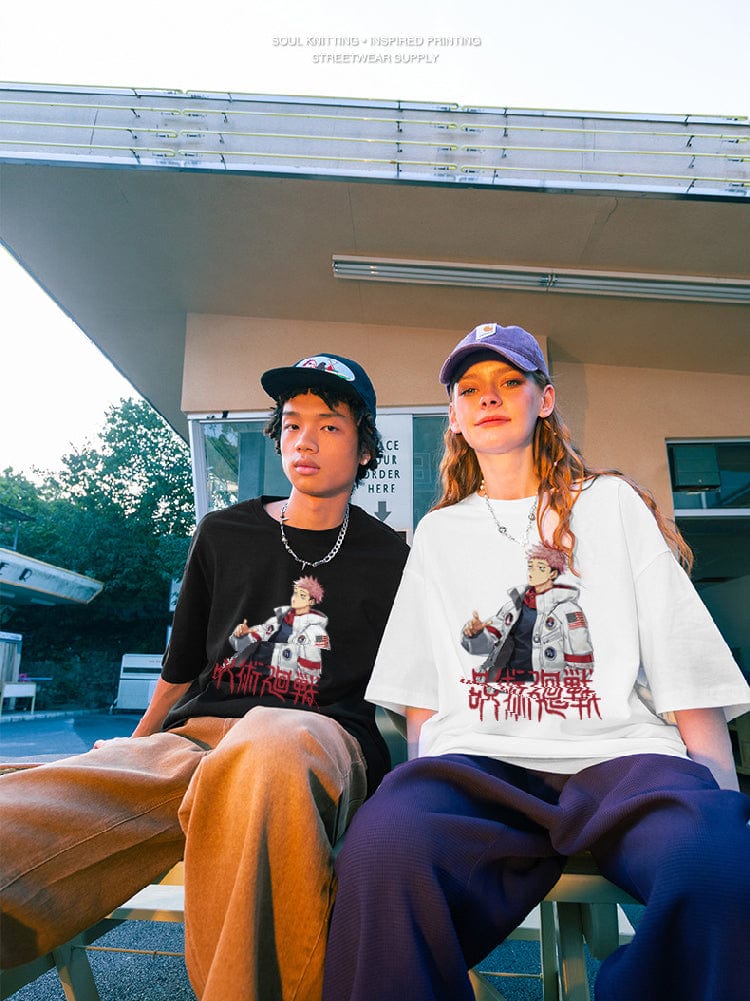
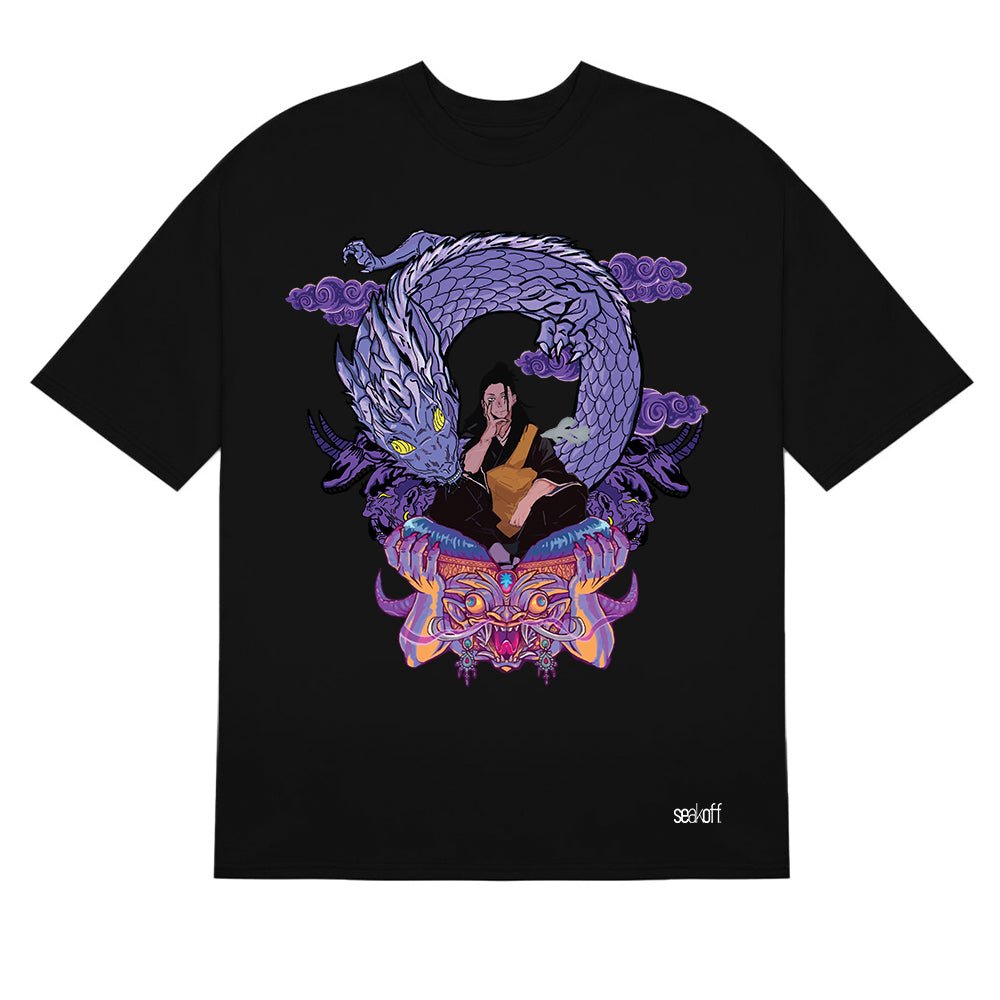
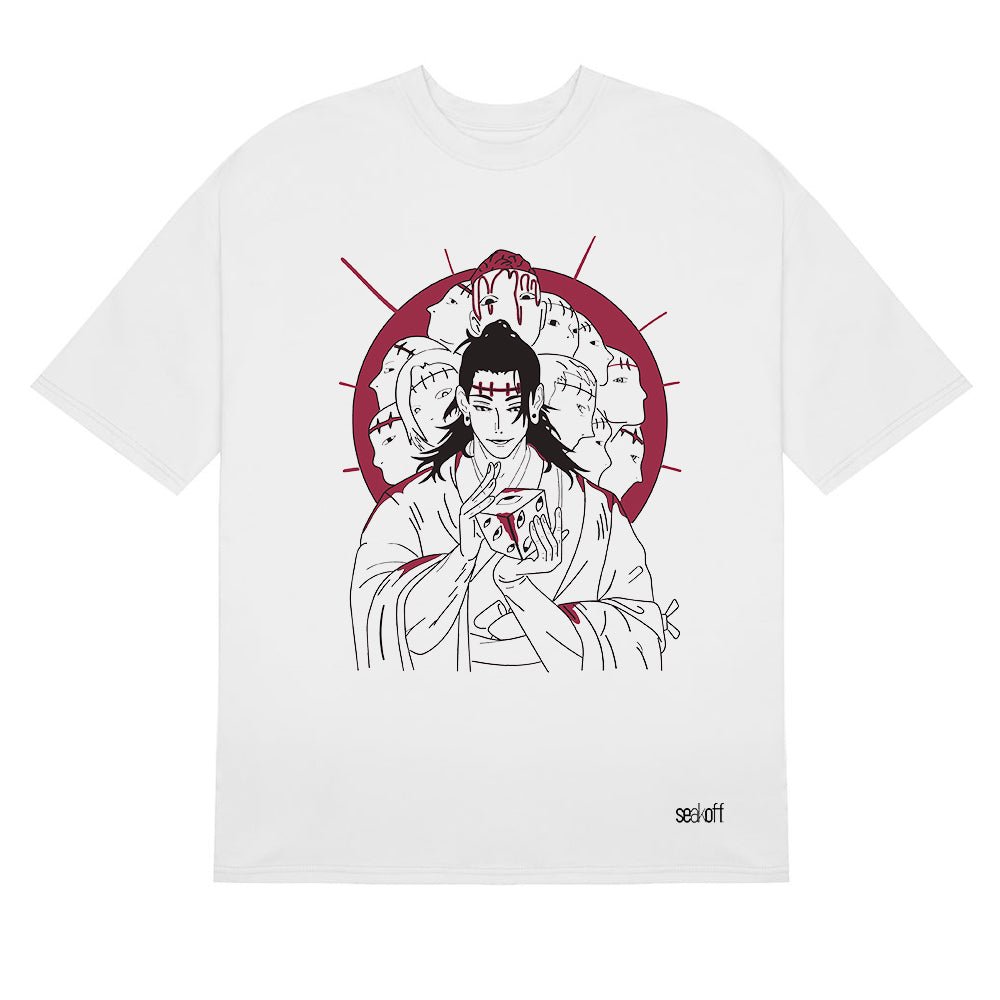
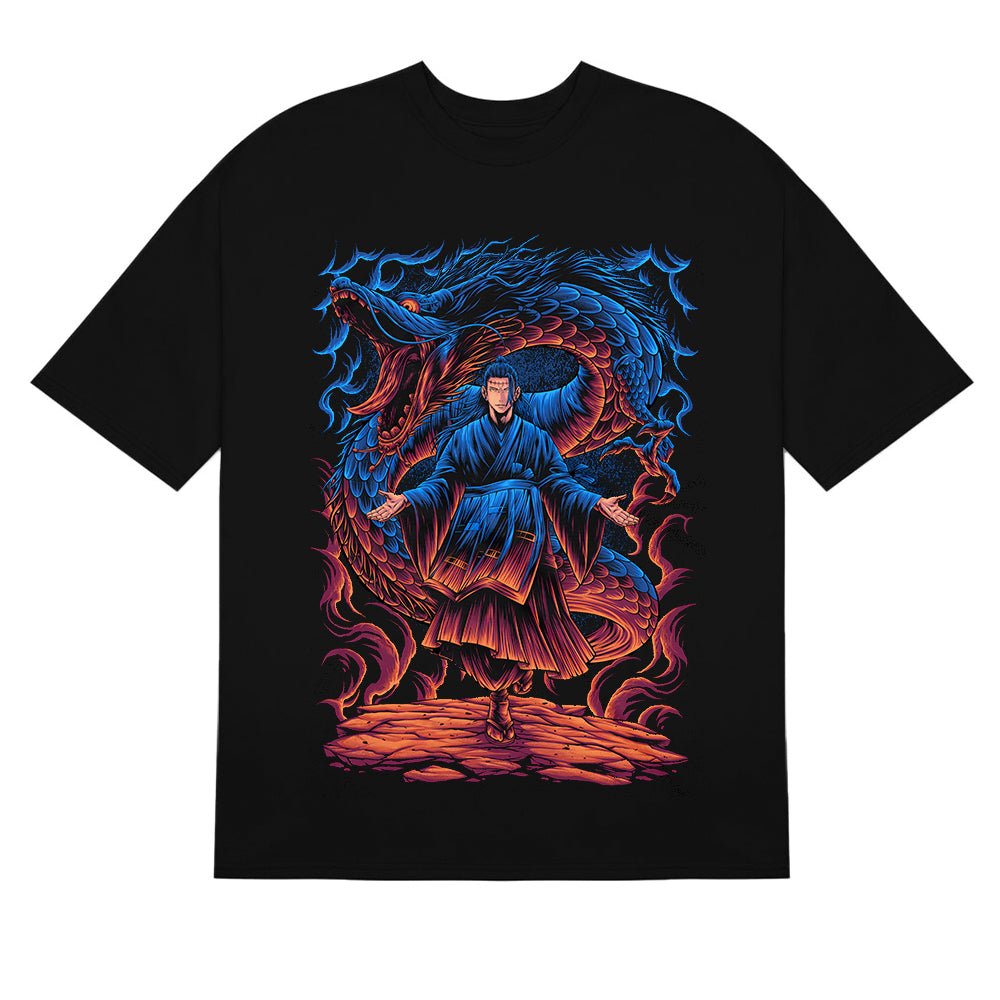
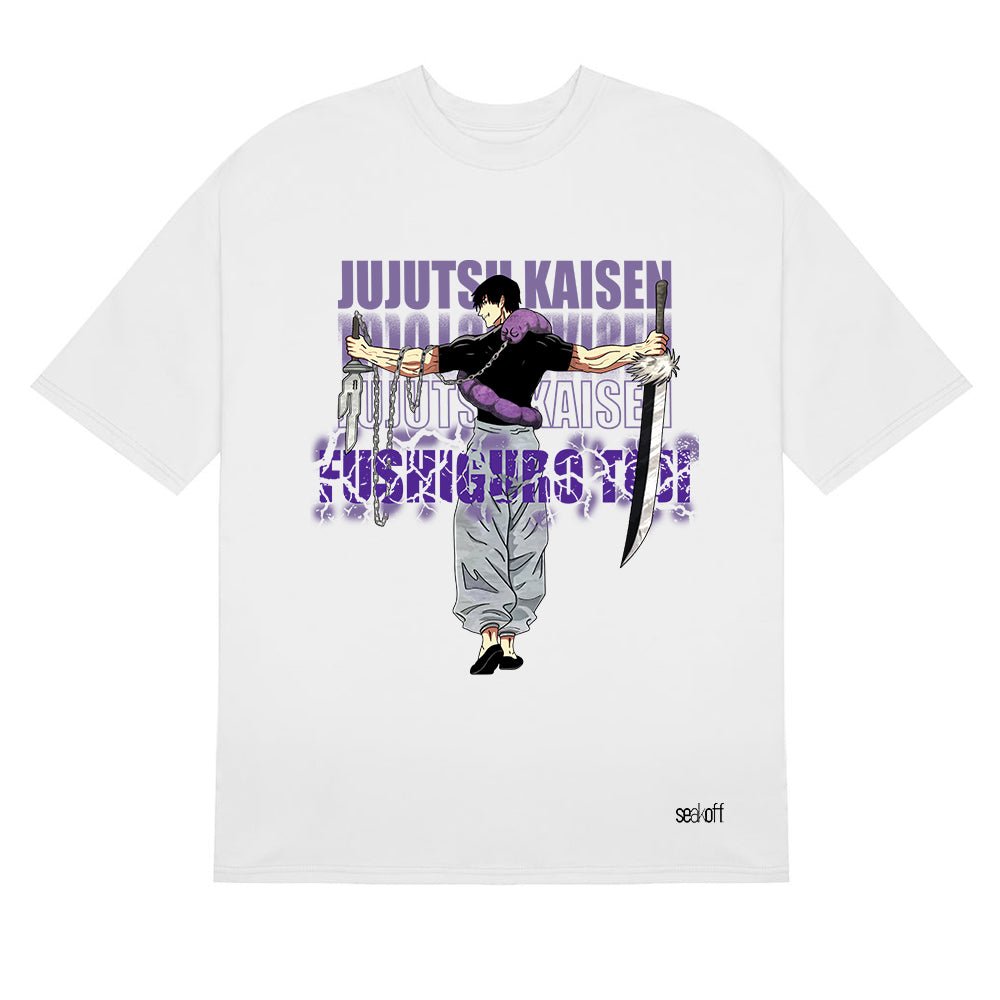
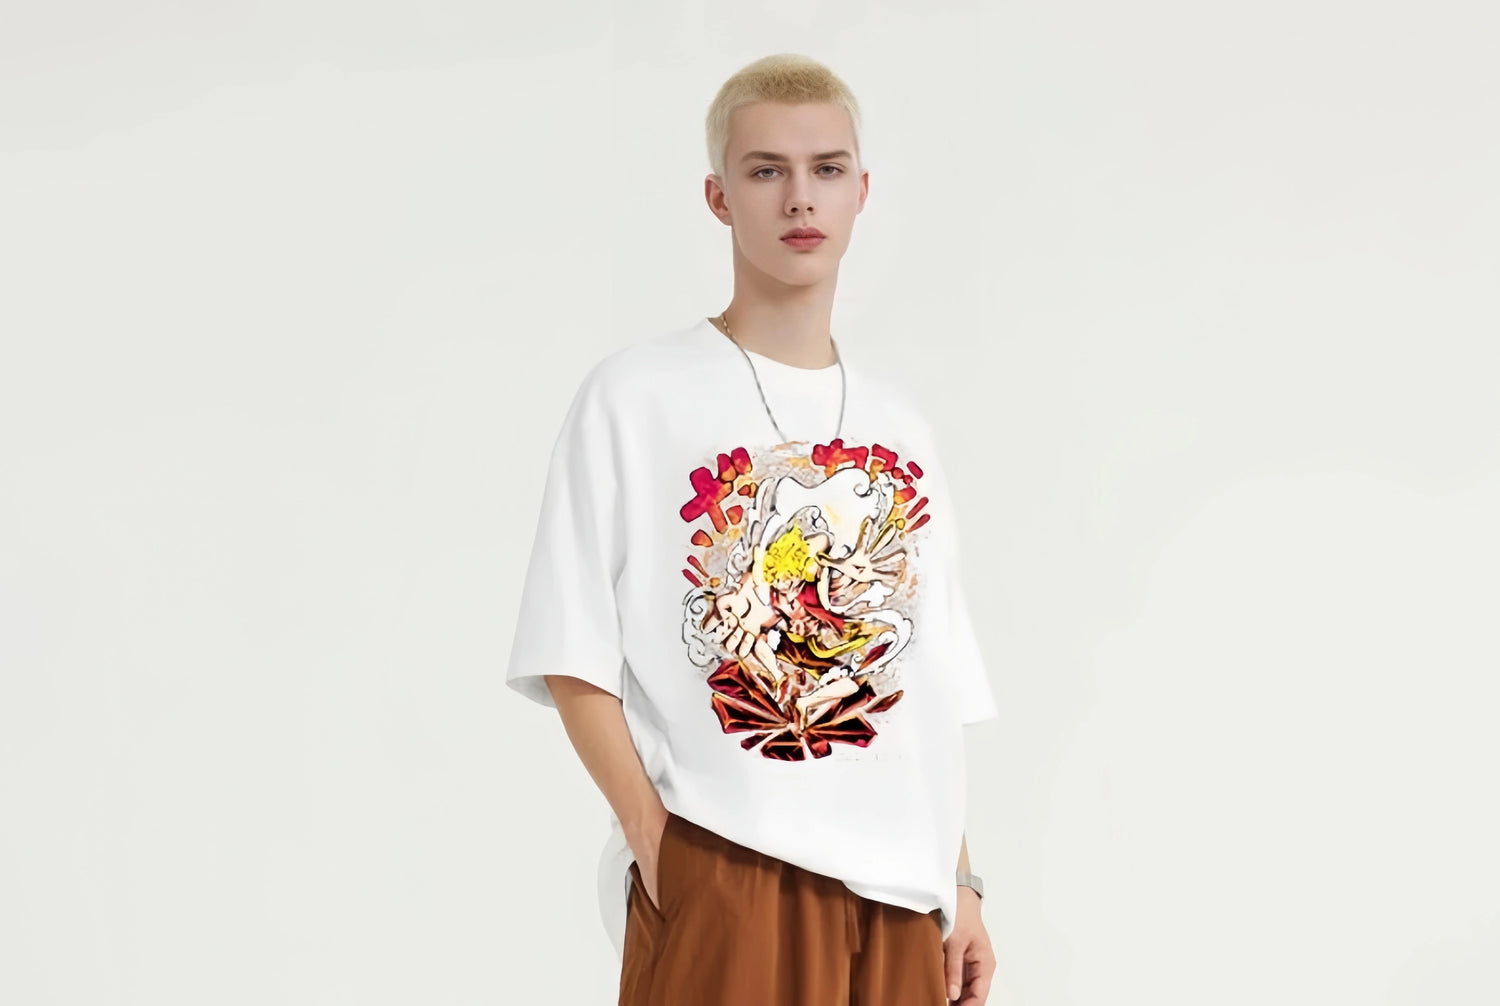
Naruto Shirt
If you're a true Naruto fan, check out our Naruto Shirt collection to wear while you draw!
Conclusion
Drawing Naruto doesn’t have to be complicated. With these master techniques, you can create a stunning drawing of Naruto in just 5 minutes. Remember to practice regularly and have fun with your drawings. Happy sketching!