Welcome to the Seakoff blog! If you're a fan of both Attack on Titan and Infinity Craft, you're in for a treat. Creating the world of Attack on Titan within Infinity Craft can be a fun and rewarding experience. In this guide, we'll walk you through the steps to bring your favorite anime into the Infinity Craft universe. Plus, don’t miss out on our exclusive Attack on Titan merchandise recommendations at the end!
Step 1: Gather Your Resources
Before you start building, make sure you have all the necessary resources. You will need various materials to create the iconic structures and characters from Attack on Titan. Some key resources include:
- Stone and Wood: For building the walls and houses within the districts.
- Wool and Dye: For creating detailed banners and flags.
- Armor and Weapons: To equip your characters and recreate epic battles.

Step 2: Build the Walls
The walls are one of the most iconic features of Attack on Titan. Begin by constructing the massive walls that protect humanity from the Titans. Here's how:
- Plan Your Layout: Decide where you want to place the walls and how large your districts will be.
- Start Building: Use stone blocks to create the height and thickness of the walls. Make sure they are tall enough to match the scale of the Titans.
- Add Details: Use different types of stone and wood to add texture and detail to the walls. Consider adding gates and watchtowers for authenticity.
Step 3: Create the Districts
Inside the walls, you’ll need to build the districts where the characters live and train. Focus on creating:
- Residential Areas: Build houses and shops using a combination of wood and stone. Add details like windows, doors, and chimneys to make them look realistic.
- Training Grounds: Create open spaces with training dummies and equipment. This is where your characters can prepare for battles against the Titans.
- Headquarters: Construct a central building for the Scouting Legion. Use stone and wood to make it stand out from the other structures.
Step 4: Populate with Characters
Now it's time to bring your favorite characters into the world. Use skins and armor to recreate:
- Eren Yeager: Equip with leather armor dyed green to represent his iconic outfit.
- Mikasa Ackerman: Use iron armor for a sleek look and add a red scarf.
- Levi Ackerman: Opt for diamond armor to show his elite status among the soldiers.
- Titans: Use custom skins or larger player models to create the fearsome Titans.
Step 5: Add Final Touches
To make your Attack on Titan world truly immersive, add the final touches:
- Banners and Flags: Use wool and dye to create banners with the Scouting Legion emblem.
- Vegetation: Add trees, grass, and flowers to make the districts feel alive.
- Lighting: Place torches and glowstone to light up the areas at night.
Explore More Attack on Titan
Once you've built your Attack on Titan world in Infinity Craft, why not show off your fandom with some exclusive merchandise? Check out our top picks below:
-
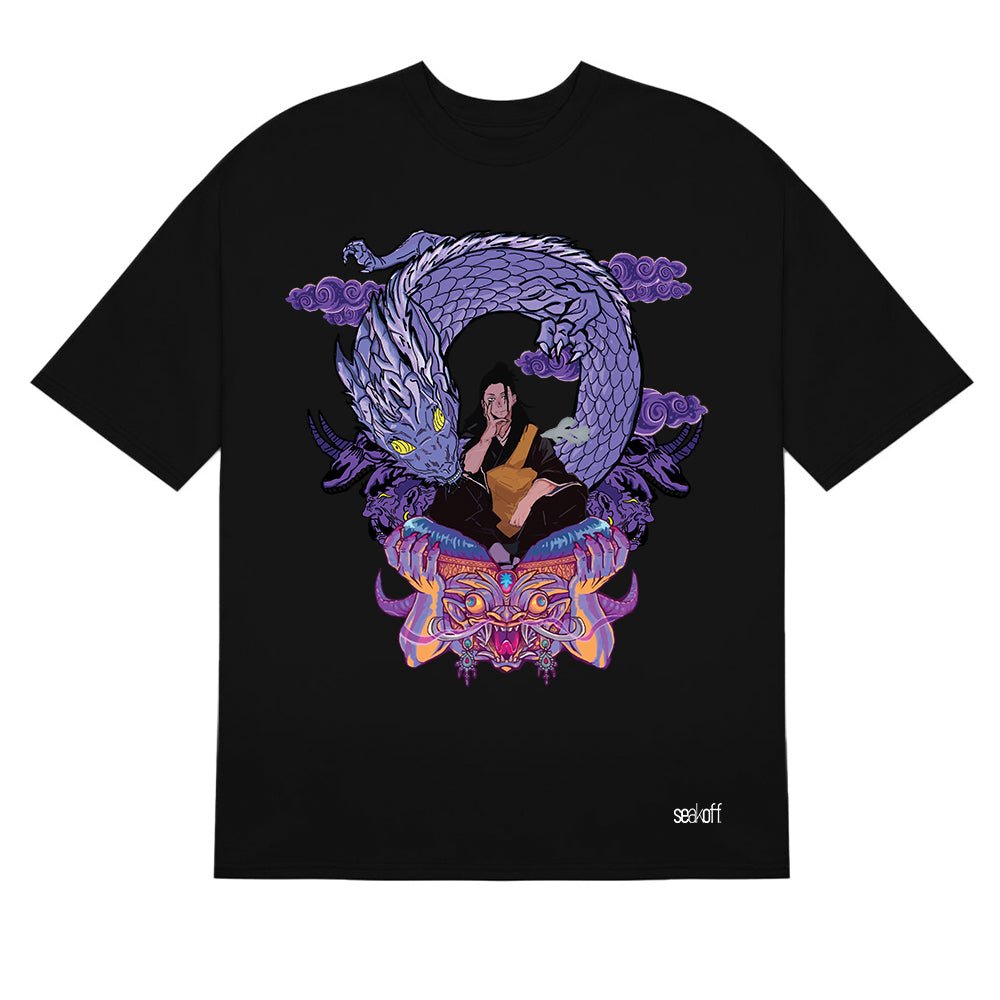
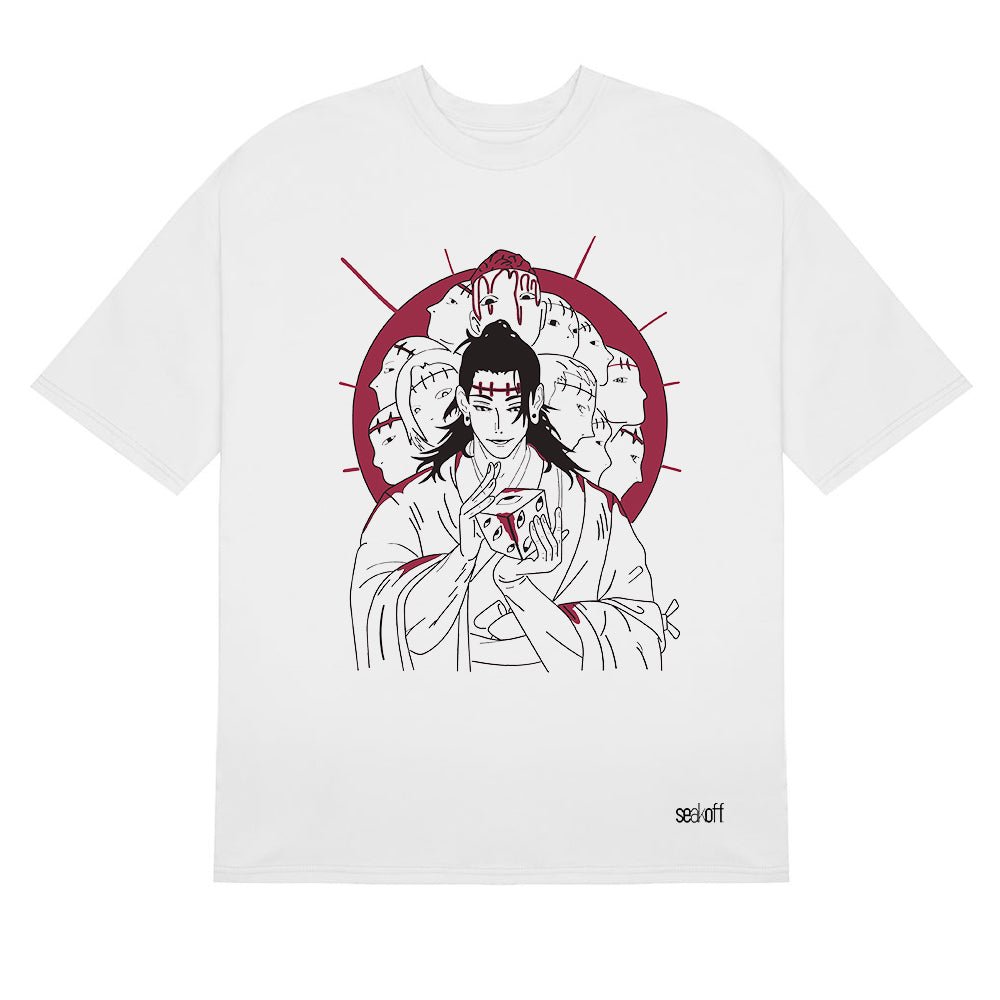
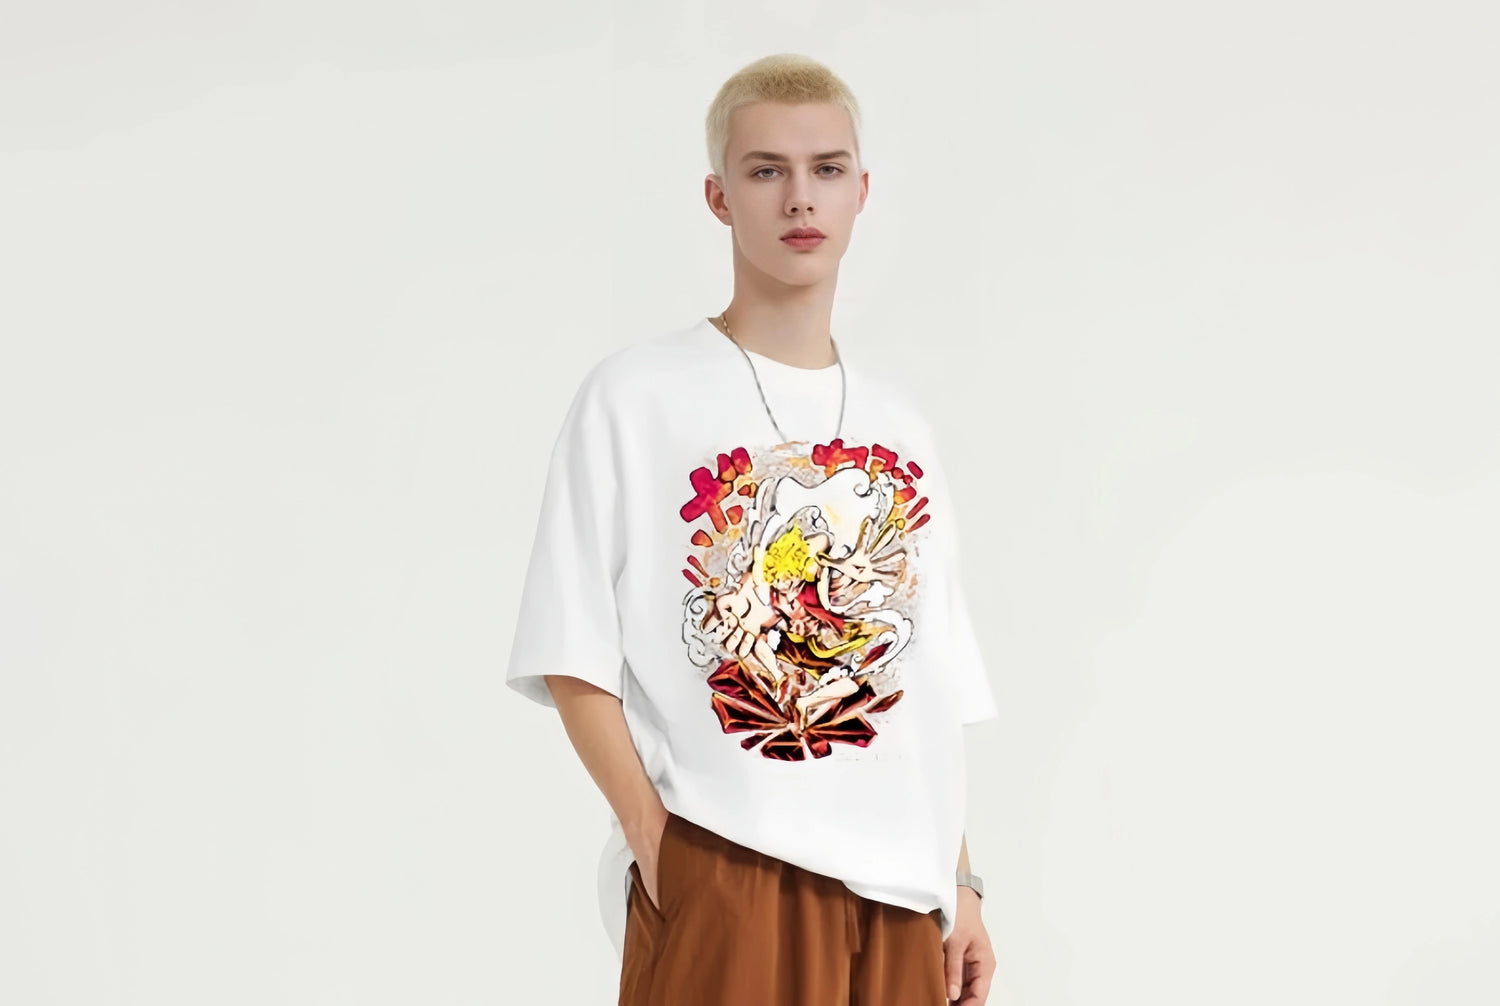
Levi Ackerman Expressions Attack on Titan T-Shirt Showcase the many faces of humanity's strongest soldier with this dynamic and detailed design.
-
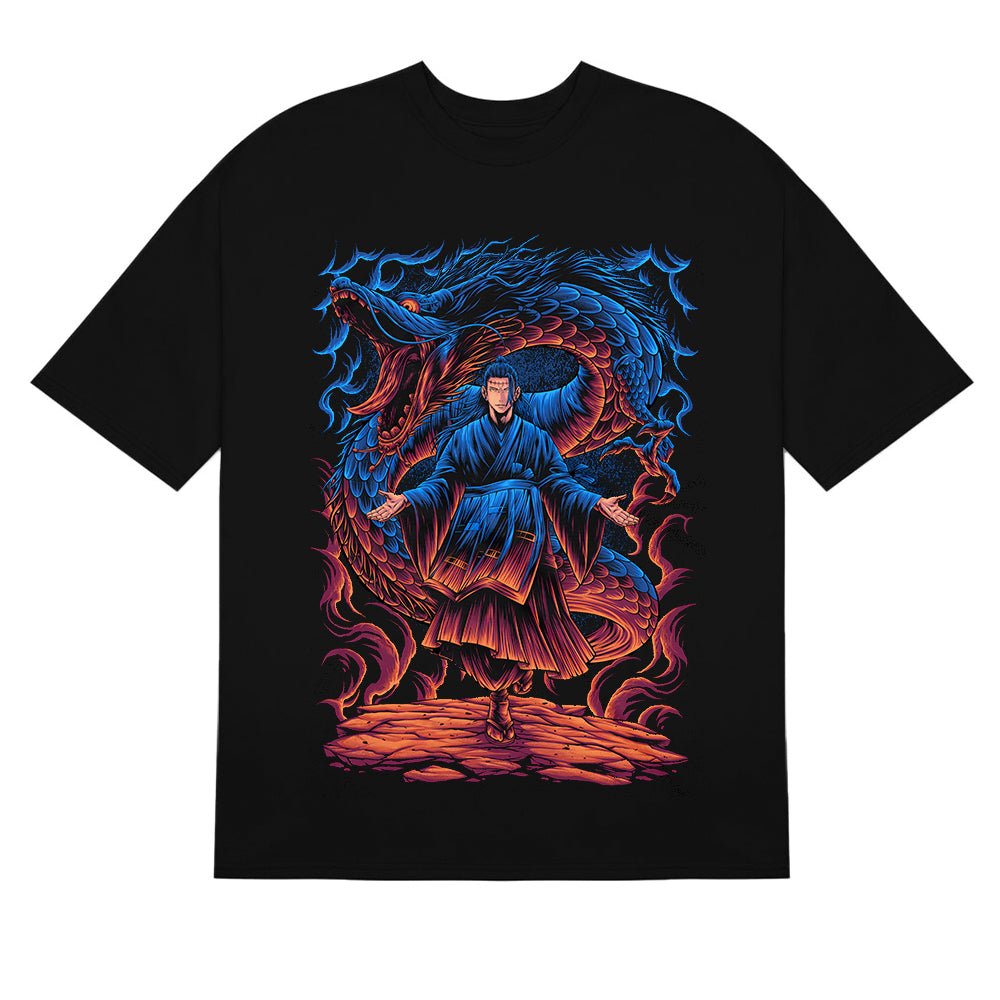
Eren & Mikasa Attack on Titan T-Shirt Celebrate the bond between Eren and Mikasa with this stylish T-shirt featuring the iconic duo.
-
Colossal Titan Head Attack on Titan T-Shirt Capture the fearsome presence of the Colossal Titan with this bold and striking design.
-
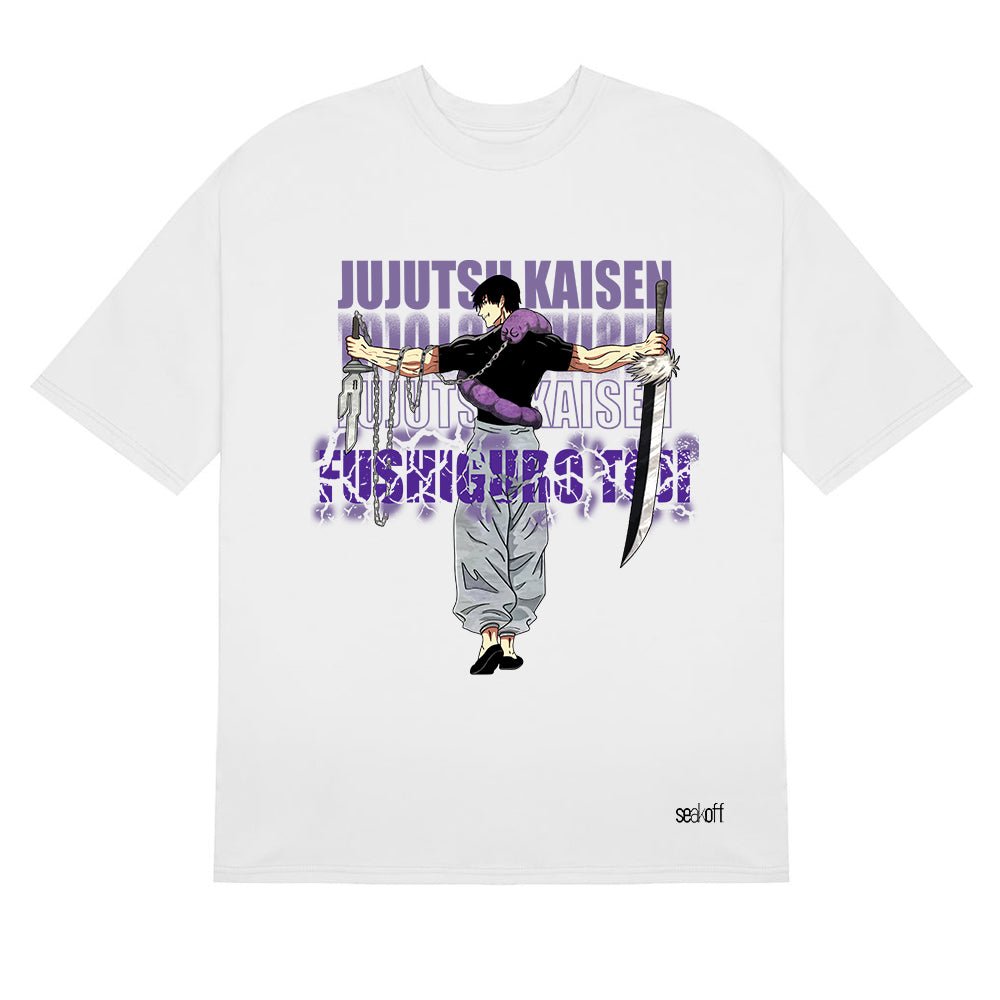
Scouting Legion Attack on Titan T-Shirt Join the fight for humanity with this T-shirt featuring the Scouting Legion emblem and the inspiring text "For the Glory of Humanity."
Explore our full Attack on Titan Shirt collection and Attack on Titan Costume collection to discover more exclusive designs. From popular characters to memorable scenes, elevate your anime wardrobe with Seakoff's high-quality apparel.
Conclusion
Creating Attack on Titan in Infinity Craft is a fantastic way to combine your love for the anime with your creativity in the game. Follow this guide to build iconic structures, bring characters to life, and make your world truly immersive. And don’t forget to check out Seakoff for the best Attack on Titan merchandise to showcase your fandom in style.
Visit Seakoff today for high-quality anime apparel and exclusive offers.